
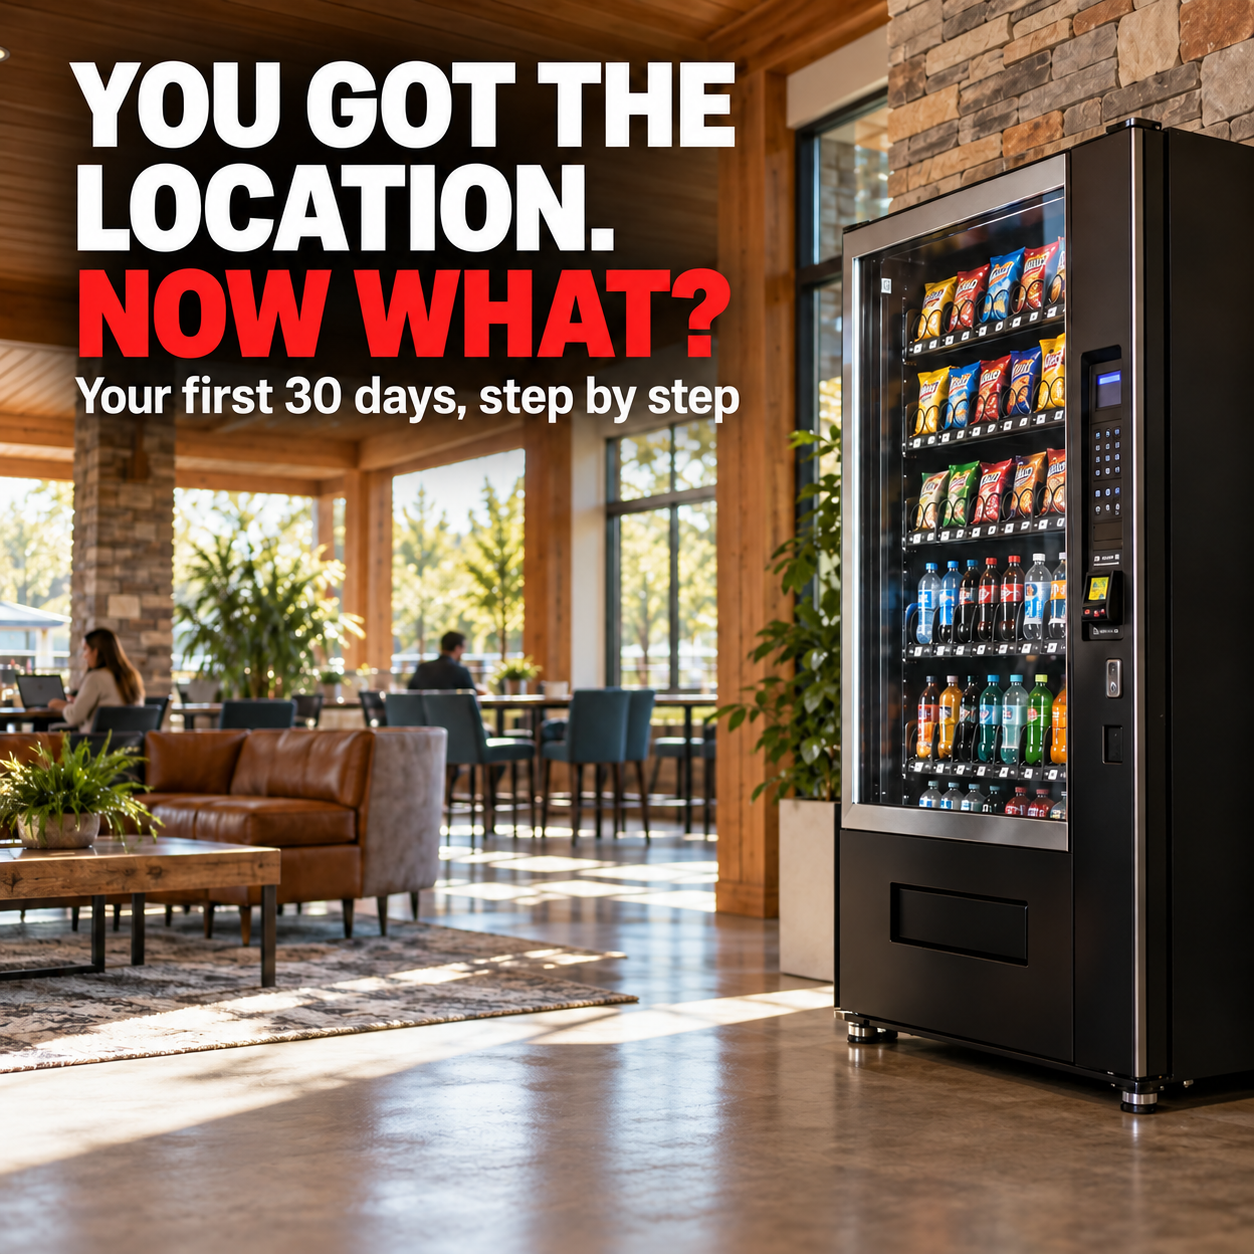
Getting a location to say yes is a big step. It is also the point where the real setup work begins. Before a machine arrives, you need to confirm the details that will help it fit the space, serve customers, and stay easy to maintain.
A strong first month is less about rushing to fill every product slot and more about setting up the account clearly. Confirm expectations, prepare the site, test the machine, and make a plan for checking how it performs.
Before delivery: confirm the details in writing
Start with the basics: where the machine will sit, when it can be delivered, who will provide access, and whom you should contact if something changes. Confirm whether the site expects you to move or protect anything during installation, and whether there are building rules for delivery vehicles, loading areas, or service visits.
Check the space before the machine is on the truck. Measure the width, height, and depth of the planned location, including room for doors to open and for the operator to service the machine. Confirm the route from the entrance to the final placement area. A machine that fits in the room may still be difficult to get through a hallway or around a tight corner.
Ask about power access and outlet location. Confirm that the outlet is available for the machine and that the cord can reach without creating a trip hazard. If the machine needs a specific electrical setup, check the manufacturer’s requirements and have the site confirm any building limitations before delivery.
Put the operating agreement in writing. It should cover the service arrangement, responsibilities, access, any commission or payment terms, and how either party can raise an issue. The details vary by account, so make sure the agreement reflects what you and the location have actually discussed.
Delivery day: treat setup like a handoff
Before the machine is moved into place, inspect the delivery path and the planned space. Once it is positioned, check that it sits level, the doors and locks work, and the machine has the clearance needed for normal use and service.
Test the payment methods you plan to accept. If you are using a card reader, verify that it is connected and ready to process a test transaction according to the payment provider’s instructions. Confirm that the selection buttons, product delivery, display, and any refund instructions are working and easy for customers to understand.
Take a few photos of the finished installation and note the machine’s serial number, payment reader details, and delivery date. Keep the purchase and installation records with the machine’s service history. The IRS recommends maintaining records that clearly show business income and expenses, including supporting documents such as invoices, receipts, and sales records.
Before you leave, introduce yourself to the site contact and explain how to reach you if something needs attention. Give them a simple description of what to report: the machine’s location, what happened, and whether the issue affects all purchases or only one selection.
Week one: check the customer experience
Return soon after the machine is opened for use. Look for the small problems that are easy to miss during installation: a selection label that is difficult to read, a product that hangs up, a machine that is hard to reach, or a payment instruction that confuses customers.
Ask the site contact what they have heard so far. Do customers understand how to pay? Are they finding the machine? Have they asked for anything specific? Early feedback may be anecdotal, but it can help you spot a setup issue before it becomes a repeated complaint.
Keep a simple record of what you find. Note the visit date, sales readings, items that sold, products that need attention, and any customer or site feedback. If you are using a cashless system, learn how to pull sales reports and check that transactions are appearing as expected.
Weeks two through four: establish a service rhythm
Your first service schedule is a starting point, not a permanent rule. Visit often enough to keep the machine presentable and available, then adjust based on what you observe. A high-volume location may need more frequent visits; a smaller account may not.
During each visit, check the machine’s appearance, payment system, product dates, and delivery mechanisms. Record what you add and remove. Compare your inventory notes with sales reports where possible. This can help you distinguish fast-moving products from items that have not found an audience.
Stay in touch with the location, but keep the communication useful and predictable. Let the contact know how to report an issue and when they can expect a response. If you need to change the service schedule, tell them before the change takes effect.
At day 30: review the account, not just the machine
At the end of the first month, look at sales, service time, product costs, payment fees, and any agreed commission. Ask whether the machine is reaching the people you expected it to reach and whether the account is operating smoothly.
The point of the first 30 days is to create a reliable baseline. You will have a better sense of what customers buy, how often the machine needs service, and whether the location is a good fit. Use that information to make the next month more deliberate.
A successful launch usually comes from a handful of details handled well: clear communication, a properly prepared space, a machine that works as expected, and a service routine you can sustain. Get those in place, and you give the account a much better start.